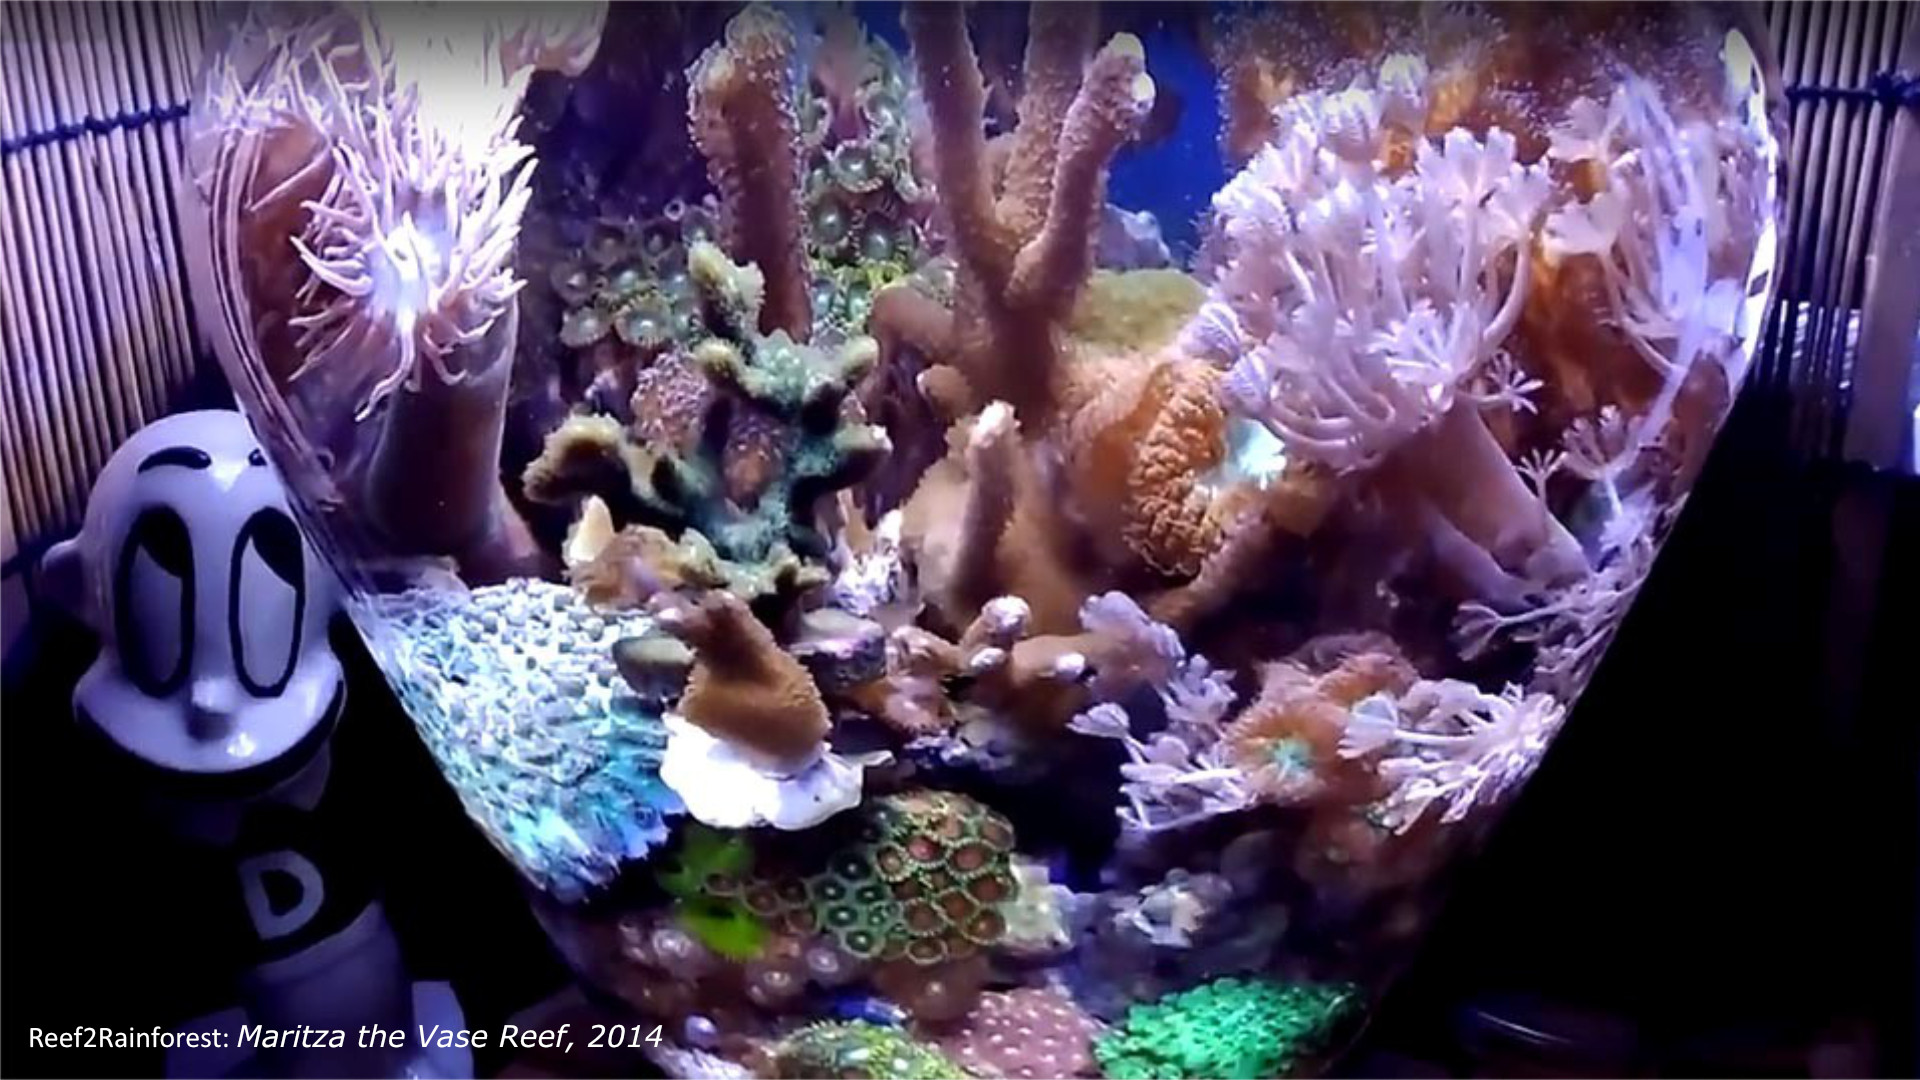
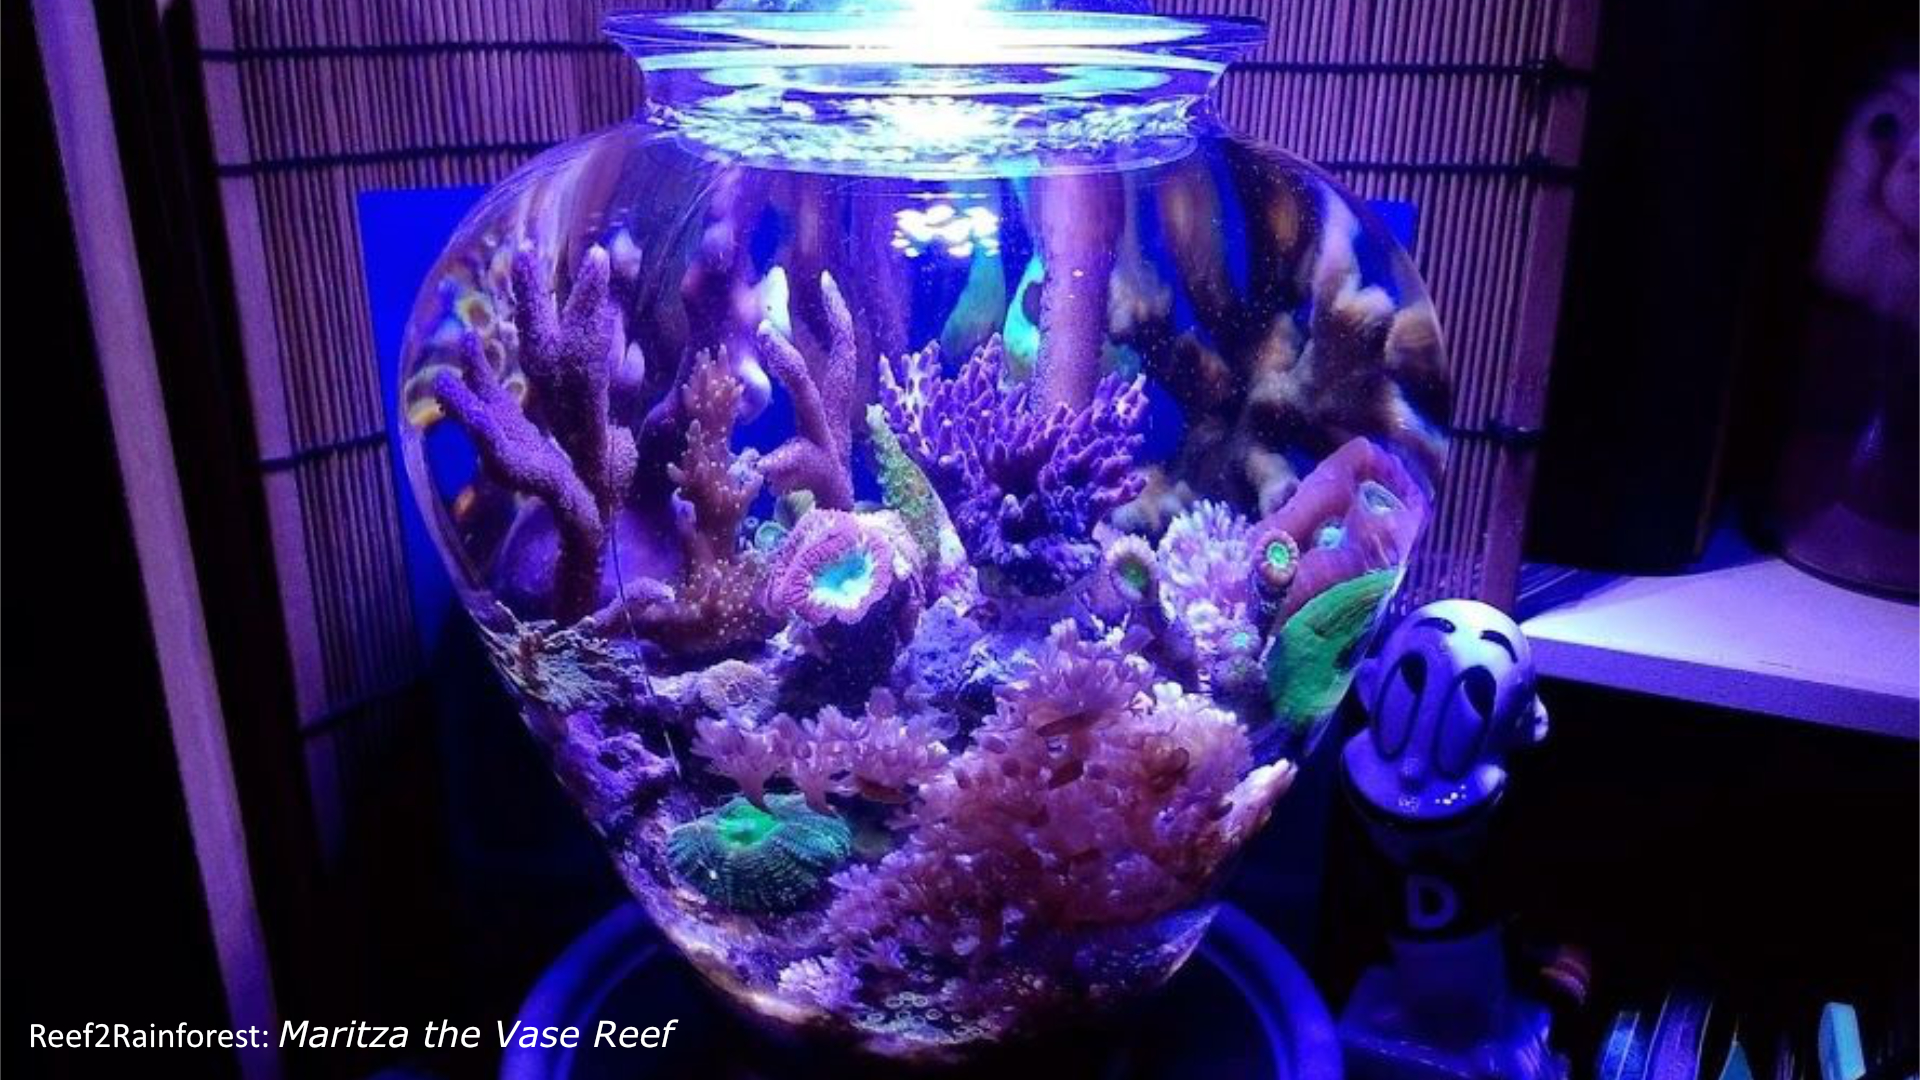
Setting Up a Jar Reef
Generally, when we think of reef aquariums, we are drawn to large colonies, and the notion that success can mean years of patience in growing them out. However, in the last few years there has been a trend in a different direction, one towards nano, or even pico reefs with the popular moniker “jar reef”. What is a jar reef, or reef jar even? Jar reefs are generally considered pico reefs (meaning a total volume of less than five gallons) and while these rules are never absolutes, the name for this category of reef came from the unorthodox usage of containers such as cookie jars, which also happen to be in the two-to-four-gallon range in volume. The old school of thought was that beginners in the saltwater, and reefing hobby should always attempt to acquire the largest volume container as it would make parameter swings smaller; larger tanks take longer to warm up, more waste to become dirty etc. While this fact remains true, larger aquariums come with a larger initial investment, larger ongoing maintenance costs, and battling a nutrient issue in a large tank can be problematic because there are so many places for waste to hide and it takes a lot of fresh saltwater to perform water changes big enough to make a large impact in water quality. If making huge batches of saltwater and hauling lots of buckets doesn’t appeal to you, a pico, or jar reef if you will, may be right up your alley.
To set up a jar reef requires almost nothing. In fact, if you have been an aquarist previously or currently are one, the odds are that you probably have the majority of what is needed at your disposal already. Here’s a quick rundown.
- Container: Entirely up to your imagination. The artistic way is to go to a thrift store and search for cool glass containers or vases large enough (you want this to be at least two gallons, but people have reefed successfully in smaller containers. Alternatively, you could buy a five-gallon aquarium, build a small rimless tank (this is not too difficult actually, especially at smaller volumes) or purchase something like a cookie jar at a local retailer. If you are choosing something that cannot accommodate an ATO (automatic top off) you will want to consider that for long term upkeep a cover to reduce salinity swings from evaporation might be in your best interest.
- Light: In such small water volumes, you can get away with pretty basic lights. Various online retailers who we are all familiar with sell small knock off lights that for most aquariums are not effective; but in a gallon or two of water they can oftentimes be acceptable for growing low light corals. Read reviews or consider splurging here as this is going to be the most expensive part of your setup. Single point light sources also have the visually appealing benefit of causing the shimmer effect like you get in nature underwater on sunny days. Think about what you want in your reef, and choose a light that fits your budget and meets your need. LED’s should be the only lights considered for such a setup, as lights that generate more heat can easily cause the small aquarium to overheat. - Temperature Control: Coral reefs around the world can be cooler than you might think. Temperatures in the home aquarium shouldn’t exceed 80 Fahrenheit. Placing the jar reef in a temperature-controlled home should cover temperatures getting too high, but temperatures should ideally not fall below the mid 70’s and should be kept as stable as possible. Find the most reliable heater for your volume of water, and then purchase a controller – essentially a thermostat that will give or deny power to the heater as an extra failsafe. Heater failures are one of the most common reasons for aquarium and reef crashes, and a heater controller is one of the most affordable ways to protect against this.
- Water Circulation: The final necessity for a jar reef is water movement. Flow is necessary to help corals get food and take waste away. Small powerheads or other circulation pumps can be used, or for smaller tanks something as simple as a rigid airline letting out a few bubbles every few seconds to cause circulation can also suffice. In situations without an ATO, a hole should but cut to fit any cords or airlines that will need to be run through the cover of the container. If the container is of the improvised variety, a rubber gasket could be made to make a good seal around the edge of it and assist in accommodating said cords and lines.
Now that you have the needed hardware there are a few more steps before you are ready to add saltwater and fire it up.
- Rock: The hardscape should be composed of porous, marine based rocks. While it is hard to acquire live rock these days, it would be great to get cured rock at least from a local fish store or a vendor that has access to cured rock of some type. While some commercially available pico reef tanks come with a filtration area or in tank sump, most jar reefs will not have a space for biological filtration, and so using a high-quality marine rock is important as the surface area of the rock will be the biological filtration for the system.
- Substrate: This topic is slightly more controversial, with two schools of thought. The first is to add any suitable marine substrate, while the second is to leave the tank in a bare bottom setting which facilitates cleaning and ensuring that waste is not building up under rocks or within the substrate itself. Both can be kept – with a method of cleaning known as rip cleaning. Wastes do build up in marine systems, and when these wastes escape through disturbance of the substrate or rock work in mature systems it can cause a crash. Rip cleaning is the practice of removing rock and coral from the aquarium, and rinsing the substrate. While this sounds counterintuitive, the substrate has very little water flowing through it, which is why the waste got trapped there in the first place, and therefore is not an area of major concern regarding killing beneficial bacteria. Rip cleaning can happen monthly in a small system quite easily as opposed to large ones, simply remove the hard scape, rinse the sand with your source freshwater for your marine tank (normally RO water) and then return everything and refill. This prevents a buildup of waste in the substrate from ever getting to the point where it could cause a crash from being exposed.
In conclusion, jar reefs may actually be easier to set up, cheaper to maintain, and now have multiyear documented histories across the internet, forums etc. Water changes of 60 to 100 percent weekly more than take care of any water quality issues you might have and also act to replenish the elements that the corals need to live and grow. Heavy feeding can be performed on these tanks since you can schedule your large water change for twelve hours later and not have the risks of feeding in a similar way in a system where the water wouldn’t all be replaced and for less than the cost of a traditional water change on a larger system. If jar reefing has you intrigued stay tuned as we discuss the maintenance of these tanks and some good stocking habits. Call or visit your local fish store today and start sourcing the supplies for your jar reef, unless you already have them at home!