Moving Your Tank Part III - Moving Day!
Your buckets are all clean and lined up, there is a stack of old towels (using the new ones is sure to make someone in your life angry) and maybe you even have a tarp on the floor, and it's moving day! Get after it. If you are going to bag fish, pre-warm the cooler by adding warm water to it and closing it up. If you're going to add fish and inverts to the cooler directly, you can pre-warm it, just remember to dump this water before siphoning tank water into it.
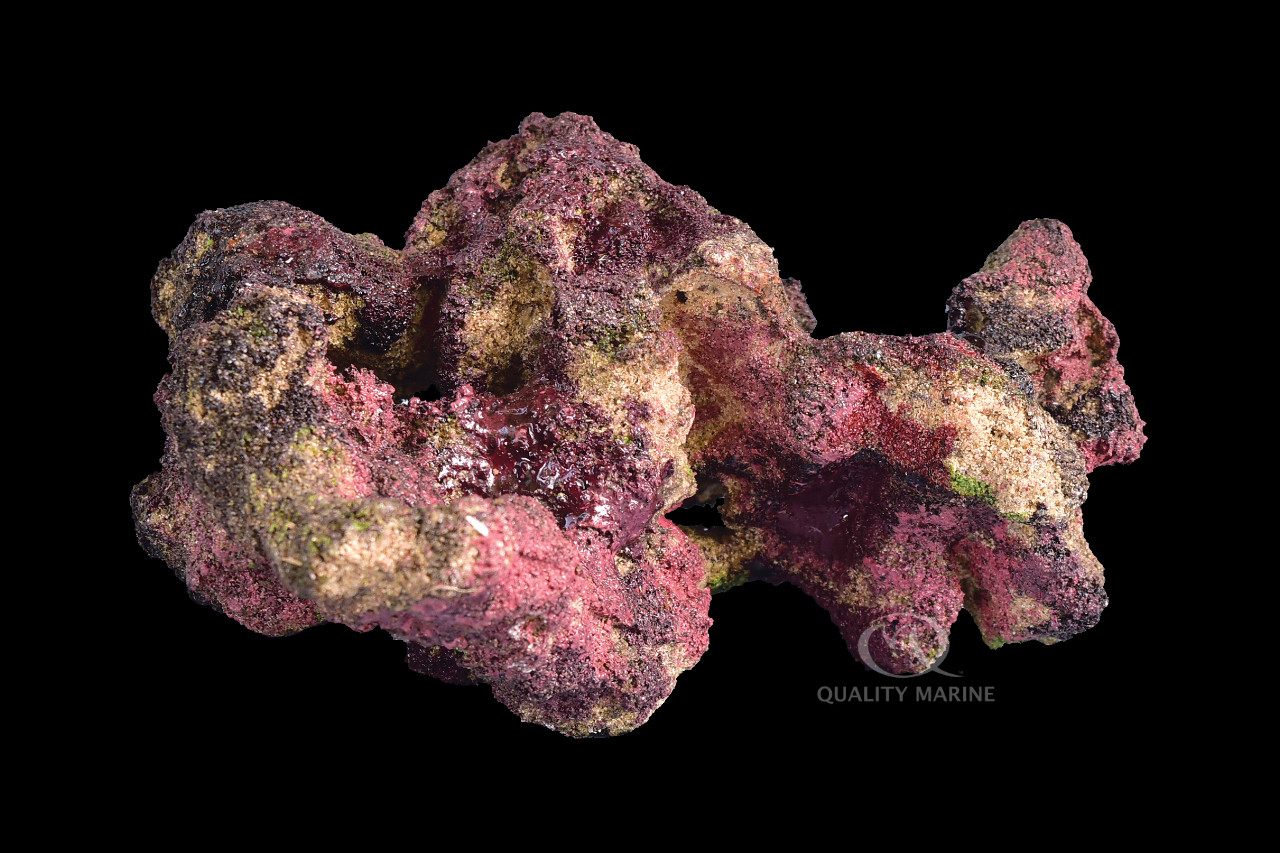
Start with removing your rocks. Even pulling a few rocks out is going to lower the water level quickly in your tank, and your filter system will start to pull air sooner than you expect, so just turn everything off. Put these rocks in the buckets you have lined up, being careful to stack them in a way that doesn't crush anything growing on them. If you have corals that are affixed to rocks, you'll want to partially fill some of the buckets with tank water so they will be covered during transit. When you remove these rocks from the aquarium, try to minimize the disturbance to the aquarium as much as possible. We want this water as clear and clean as possible because we're going to use it for bagging, covering rocks and transport.
Once the rocks are out, it's time to get the inverts and fish. They can be bagged (our suggestion) or you can use the direct into the cooler method. Both ways will work. The less water there is in the aquarium at this time, the easier this job will be. Siphoning water into coolers, buckets and getting some into bags will quickly reduce the amount of water to a very fish-catchable amount. Once all your livestock is out, troll through the sand to make sure you have everything out there too. Things like Sand Stars, Nassarius Snails, and even some Wrasses can hide and be lost in the hubub. Now the tank is pretty much empty. You'll want one extra bucket of saltwater or at least another wet towel left over, and we'll come back to this point.
Now, here is where we dig back into the sand bed discussion from the moving article part two. There are two ways to deal with a sand bed (if you have one). The first (and older way) is to leave it in the aquarium, remove the water down to the point where there isn't really any water, but the sand remains wet. Cover this with wax paper, cling wrap, or even towels to help it stay wet, and move the sand with the aquarium. This has risks, aquariums were not built to support moving weight. Make sure the bottom of the tank is well supported if you decide to move sand inside the aquarium.
The other way is to use this opportunity to replace your sand as we discussed in the previous article. Remove all of it from the aquarium, this doesn't have to be a spotless job, 90-95% removal is fine. (plastic sandbox shovels work great for this), and if you've chosen to use wet-bagged live sand, retain 10% of your own sand and keep it wet, you'll add this to seed the rest of the new sand with a full spectrum of aquarium bacteria later. If you don't have any livestock that needs a sand bed, this is also a great time to segue into the bare bottom tank segment.
After this, everything is pretty straightforward, you're going to need to remove the water from your sump, and this is likely the last frustrating bit. You can scoop it out with any appropriately sized container, and or you can pump it out if you have a small pump, which is much faster and easier. Big box hardware stores also sell hand sump pumps which work a treat but are one trick ponies (for those of you on canister systems, turn the valves closed and leave water in them). Now, take your filter sock (or other mechanical filtration), and any media you may have in your sump and move it to the bucket of water you set aside earlier (or the wet towel). Keeping this stuff (and the rocks) wet will help immediately cycle the tank in its new location. Clean out your skimmer, but not any media reactors you may have running; leave these wet if possible. There is always a bacterial component to media reactors and we're trying to keep as much of our bacterial profile alive as possible.
Now, this is the time where hopefully you have a few friends with some free time. Load all this into the vehicle and get it over to the new place, and don't forget more towels, there isn't much over at your new place anymore! We suggest that you load all this into your car, not the moving van if possible. It's easier to make all of this secure in your car, and you can regulate the temperature more effectively. Make sure the cooler top is fastened, and the bucket lids are tightly sealed. Don't worry about oxygen in there, the rocks and sand and media will not use up the available oxygen in a couple hours. Make sure buckets are secured in place, as bucket lids do a great job of keeping splashes in place but will not stay on if a bucket tips over, and water / rocks will be everywhere!
This is a time sensitive operation, but not so much that you should overly stress about it. Be punctual, your livestock lives in a narrow range of temperatures, so this isn't the time for an Ikea run, but grabbing some takeout food to keep you going is likely worth the time spent, as hangry people make bad decisions and hangry helpers leave! Drive safely, be purposeful and patient. Check back next week for the conclusion of the tank moving series!