First Time Aquarist Part Three - Fill Day
Welcome back! This is the third article in a series for beginning marine aquarium keepers about setting up a saltwater aquarium. You join us at the good part, tank fill day! If you're interested in catching up on the series, you can find the first two article in our archive.
At this point in the process, you are well beyond planning and into purchasing, and now, finally, you are almost ready to fill the aquarium. Assuming you've set up the aquarium, and gone through the checklist (see the first two articles) let's get your aquarium in place!
Many of today's prefab aquariums come with integrated leveling, and this is important. If your aquarium is not perfectly level before you add water, it may not drain correctly, could overflow, or worse, it could be dangerously unstable. If you need to shim a corner, be sure to use plastic shims that won't compress over time. Water weighs about 8lbs per gallon, so leveling should always happen before it is full; even a 20 gallon aquarium will be more than 160 lbs full. This is also why we always suggest using a dedicated aquarium stand, instead of a re-purposed piece of other furniture. The cheap dresser you assembled at home from the big box store was not built to support that much extra weight.
Now let's build some rockwork. You can also do this after you get some water in the aquarium, but that being said, most methods of fixing rock pieces together seem to work better dry, though most of them will cure and harden underwater. There are a ton of videos online about building rockwork, so be sure to check some out. Put a few thick towels down on the bottom of the aquarium (not where your rocks are) to help protect the tank bottom from fall over events. The base rocks should go directly on the aquarium bottom. You can also use egg crate to cover the bottom and build up from that, which gives the added benefit of protecting the bottom and giving the uneven edges of the rocks something to grip, though in tanks without a substrate, it just doesn't look natural. I like to use a gel superglue and cotton to make quick attachments between rocks and then use one of the reefsafe glues or epoxies available to add structural support. Aquarists like myself have been doing this for more than 25 years.
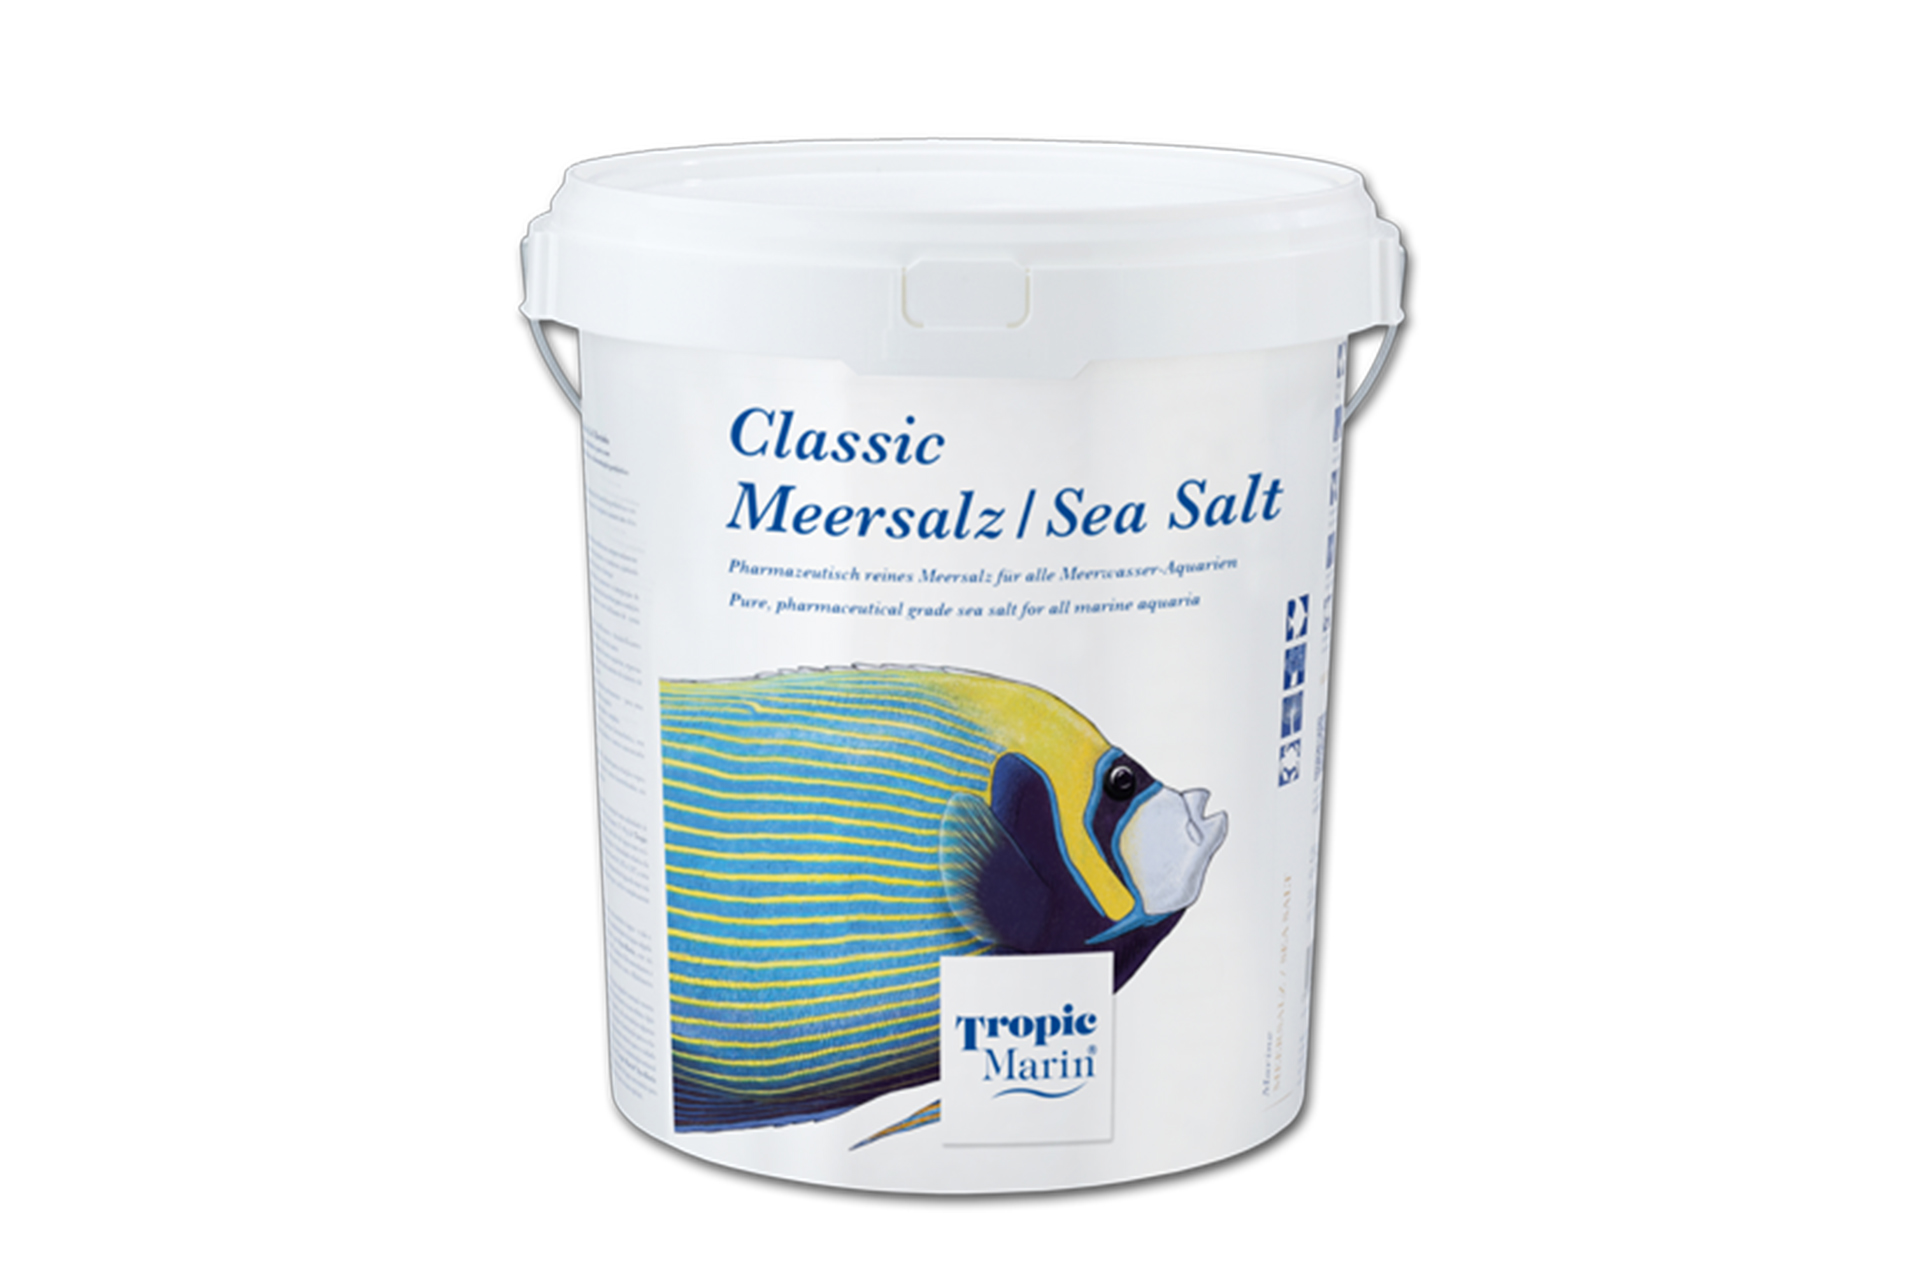
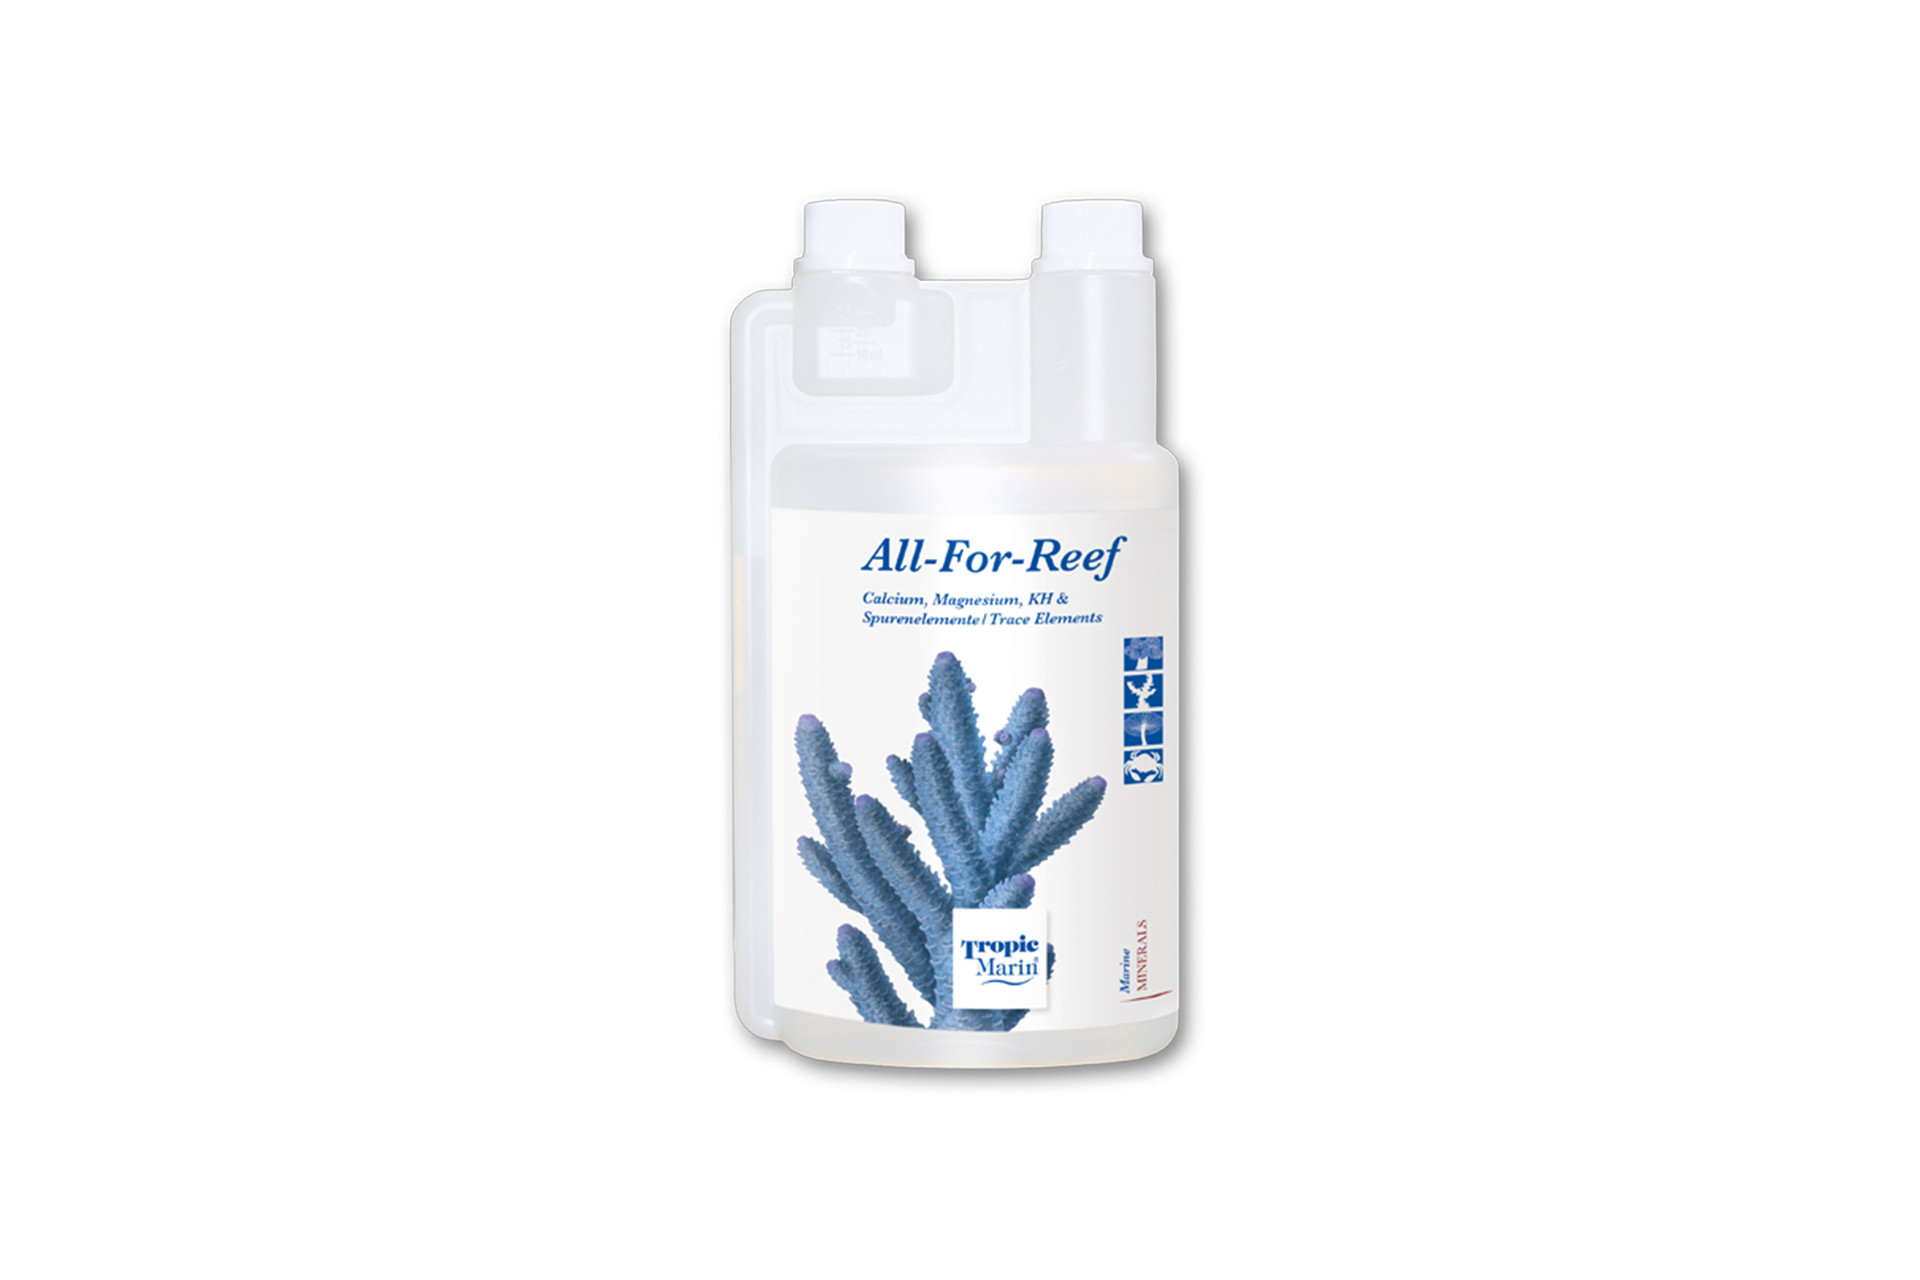
It's time to start mixing saltwater. Not that long ago, everyone pre-mixed saltwater for up to a couple weeks at a time. Premixing is still a good idea, and is pretty simple: add a powerhead to a bucket full of water and slowly add the right amount of salt for the volume of water, wait for the salt to be dissolved and check the salinity. When setting up a tank, this can be tricky because you will need lots of buckets and powerheads (or a large garbage can) to make enough water. If you don't have a clean garbage can big enough to hold your water, you can just fill the aquarium (and sump / filter) filtered water, add a powerhead (or a few) and the requisite amount of salt (instructions will be on the bucket). Let the filter pump and powerheads run until you see no more salt crystals in the aquarium and then measure the salinity. It should be 1.023 to 1.026, stick to the higher end for aquariums that will house invertebrates, the lower end is fine for Fish Only aquariums. If the salinity is low, slowly add salt until it is in the correct range, if salinity is too high, remove some water and replace it with RO water. It is important to note that this will be the last time you mix salt inside the aquarium (if you had to at all, and it is certainly preferable not to.) If you are using real live rock, I suggest premixing your water in another container, even if you have to do it 4 gallons at a time.)
Now your aquarium is up and running, though your lights should still be off. This is the time to have a conversation about sand (or other aquarium bottom covering substrate). Unless the aquarium inhabitants demand it I prefer to leave the bottom of my aquarium bare. This prevents the sand from filling with fish waste and other detritus like uneaten food, adding to the burden the filtration needs to overcome. A clean bottom tank will soon cover with coralline algae and be a beautiful melange of pinks and purples. There are however, some aquarium fish that are beautiful, useful, excellent choices and they require sand to be healthy long term including many popular wrasses and gobies. If these are on your list, you need to add sand. This is pretty straightforward, but taking a couple extra steps will make your experience much easier, and your tank will clear much more quickly and completely. The first is to wash your sand thoroughly. Put it in a bucket with enough filtered fresh water to make it twice as deep as the sand and mix the sand aggressively. While the dust is suspended in the water, pour the dirty water off and repeat this process until the water runs pretty much clear, this make take several washes. Next, take a small container, and fill it with the clean, drained sand, gently lower this container into the tank, pouring it out slowly when the container reaches the bottom. This process can be seen in a wide variety of videos online, and will keep your water as clean as it can possibly be. The other option is to add the washed sand before you add water, but since we were mixing our saltwater in the aquarium, this can be problematic. If your water clears slowly, utilize a smaller micron mechanical filter for the first few days you run the aquarium, be sure to check this frequently however, as the extra load it takes initially can cause bad flow through and even blockages.
A quick note on filtered water, most LFS will sell water filtered by Reverse Osmosis (RO water). Whether or not you need RO water will depend on the water quality coming out of your tap. The vast majority of you should probably either buy RO water, or buy a RO unit for yourselves. Using RO eliminates / prevents many different challenges that can arise, from massive diatom blooms to inverts dying of copper or chlorine exposure. It's cheap insurance, and it gives you an excuse to visit the LFS and see what's new!
Now there you are, with a full aquarium, with a beautiful sturdy rockwork and clear water! However it is not yet time for fish. Patience here is a virtue, check back in with us next week as we talk about conditioning a new tank!