Hardscape Prep, Don't Skip It!
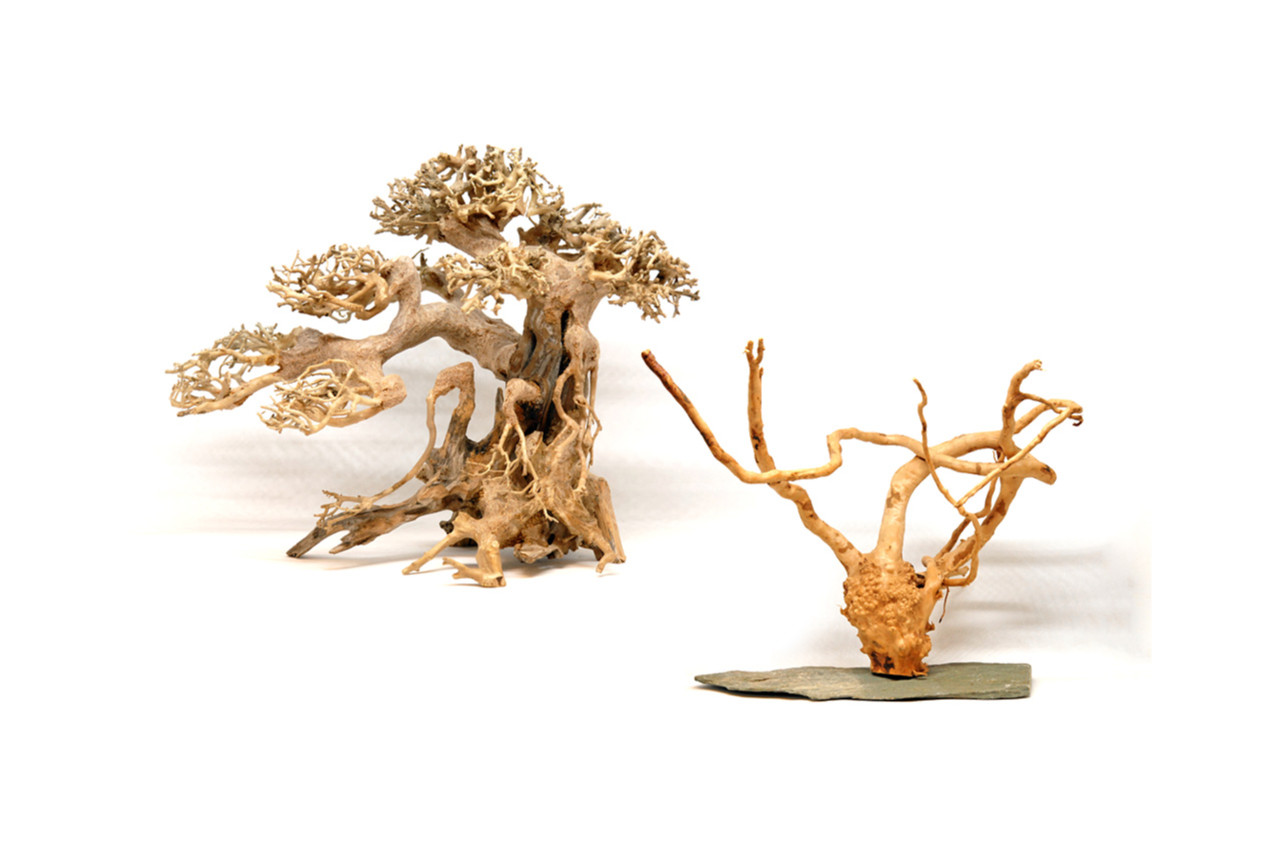
Every great aquascape starts in someone's head, long before a single fish goes in the water or indeed before water goes into the tank. Conceptually, you should consider a few things before you even get started. Lean on the same principles the reef and planted tank community have used for decades: work in odd numbers of rocks or wood pieces rather than even, establish one dominant focal point rather than several competing ones, and use the classic rule of thirds to place that focal point off center rather than dead in the middle of the glass. Leaving open swimming space and genuine negative space is just as important as the hardscape itself, a tank that's completely packed edge to edge reads as cluttered rather than natural, no matter how nice the individual pieces are. If you're looking for some inspiration, just hit up https://www.qualitymarine.com/ecoscape/ for a selection of hardscape materials available to you through your local fish store.
When the real work of setting this dream into motion starts, most of it happens at the kitchen sink or in a spare bucket in the garage rather than in the tank itself. Conceptually, rock, substrate and driftwood are the bones of most freshwater aquascapes, they give a tank its sense of place, its color palate, its flow, and its personality, but they also arrive from the wild, from a quarry, or from a supplier's warehouse carrying dust, organic residue, and sometimes hitchhikers that have no business in a closed aquatic system. You should treat hardscape prep as its own small project, because a piece that isn't properly cleaned and cured can cloud water for weeks, crash / blast a pH, or introduce something you really didn't want camping out in your display.
Substrate is the easiest thing to prepare. Put it in a bucket, add enough water so that you can mix it up, and pour the dirty water off and repeat until it runs clear. If you have an appropriate space to do so, you can just run the hose into the bucket and continually disturb the sand. The sand will fall back down out of the water that overflows the bucket, but the dirt and dust will flow out and sooner or later that water will run clear. Your sand is ready, unless your water is chlorinated in which case, wait a couple days, or add a dechlorinator (or both). Keep in mind that this shouldn't be done with substrate meant for planting that carry slow release fertilizers.
Rock is usually the next easiest of the three, but easier doesn't mean optional. Start every piece, regardless of source, with a scrub under running water using a stiff brush and no soap, just to knock off surface dust, loose sediment, and any obvious organic film. From there, a piece destined for a freshwater tank generally gets a soak, in plain water that matches the pH (and maybe hardness) profile of your aquarium. That water gets changed daily for several days. In extreme cases where you are inheriting rock that has come out of another aquarium, you might think about soaking it in a diluted bleach solution (about one part bleach to twenty parts water) for a couple hours to prevent anything from coming into your tank that you don't want there (snails, infections, etc). If you go this route, follow the initial soak with a very thorough rinse and a soak in dechlorinator-treated water until you can't detect any bleach smell at all. If you're working with anything extremely porous, (you'll know, it'll have holes and be really light for its size) plan on a longer soak, because bleach can hide in all those little nooks and take a while to fully leach back out. Lastly, most of the rock you find will be fine in your aquarium as long as you can guarantee that it hasn't been sprayed with fertilizer, or anything that ends in -cide. If you're unsure about the mineral content of rock you've procured (especially anything picked up outside of an aquarium supplier) a vinegar test might be worth the minuscule amount of time it takes. Just add a couple drops of white vinegar on a dry section of rock. If it fizzes or bubbles, the carbonate content is really high and could raise your water's hardness and pH over time, which may or may not be what you want depending on the biotope you're building. Most rock that you find will be inert (not reactive) but its history is unknown, so you need to be really sure it's free of contaminants before it goes in your tank.
Driftwood asks for a bit more patience. Almost every piece is going to leak tannins, that's just wood doing what wood does in water, and while tannins are fully harmless (fish in blackwater biotopes practically evolved around them), many hobbyists will be dismayed if their brand new aquascape looks like a cup of tea before the first fish even goes in. If you're going for more of a dime-bright profile, you're going to want to soak new driftwood (not in your tank), changing the water every day or two, for anywhere from a week to a month depending on the wood's density and your tolerance for tannin tint. For dry and porous wood, that will also help you get it to sink. For those of you with less patience and a large pot, boiling can get you there faster. A large stockpot, or an outdoor turkey fryer set up for bigger pieces, can completely sterilize the wood, will soften it, help it sink faster, and pull tannins out considerably quicker than a cold soak alone. If the piece is too big for your pot and sticks out of the water, just flip it over and boil the other side, making sure every surface gets the treatment. One thing we always mention to new hobbyists who are surprised their new hardscape piece is floating merrily on the surface, goes like this: “yup, driftwood floats until it doesn't, and there's no way around that except time, boiling, or a temporary anchor like a suction cup mount or a wedge of rock until the wood becomes waterlogged enough to stay put on its own.”
Once your hardscape is clean and ready, the tank it's going into matters more than people expect. A dramatic driftwood centerpiece with real branching structure wants room to be appreciated, so think about using a slighter bigger display than you had thought about. Like instead of a 30, think about maybe using a 40 gallon breeder for a proper wood-forward aquascape, simply because smaller footprints make bold structure look cramped rather than intentional. Conversely, Iwagumi-style layouts, built around a small number of carefully chosen stones, actually work beautifully in nano tanks down in the 5 to 10 gallon range, because the whole point of that style is restraint and negative space rather than density.
First planning, then properly preparing hardscape properly is certainly not a glamorous job, but one that pays off every single day the tank is running. A little extra patience at the soaking and curing stage means clearer and cleaner water, a cleaner start for your fish and inverts, a water chemistry that does what you ask it to and an aquascape that looks the way you pictured it rather than the way the leftover tannins and / or trapped debris decided it would. Even wood, rock and substrate that come from trusted sources like the Eco-scape selection all benefit from this process. Setting up a new aquarium is exciting, trust us, we know. Take a deep breath, slow down, and do this job right. You'll thank us later.