Homegrown Food - Red Wigglers
Over the last year, we've gone into some depth over a wide variety of foods that are easily raised by home aquarists. The vast majority of these are very small foods, often intended for fry (baby fish, not dinner), very small fish, or very picky fish. We've gone over everything from infusoria to grindal worms, to brine shrimp, daphnia and tubifex! But what about those of you who want to raise food for bigger fish? Or perhaps you are looking to raise something to feed your turtles or frogs?
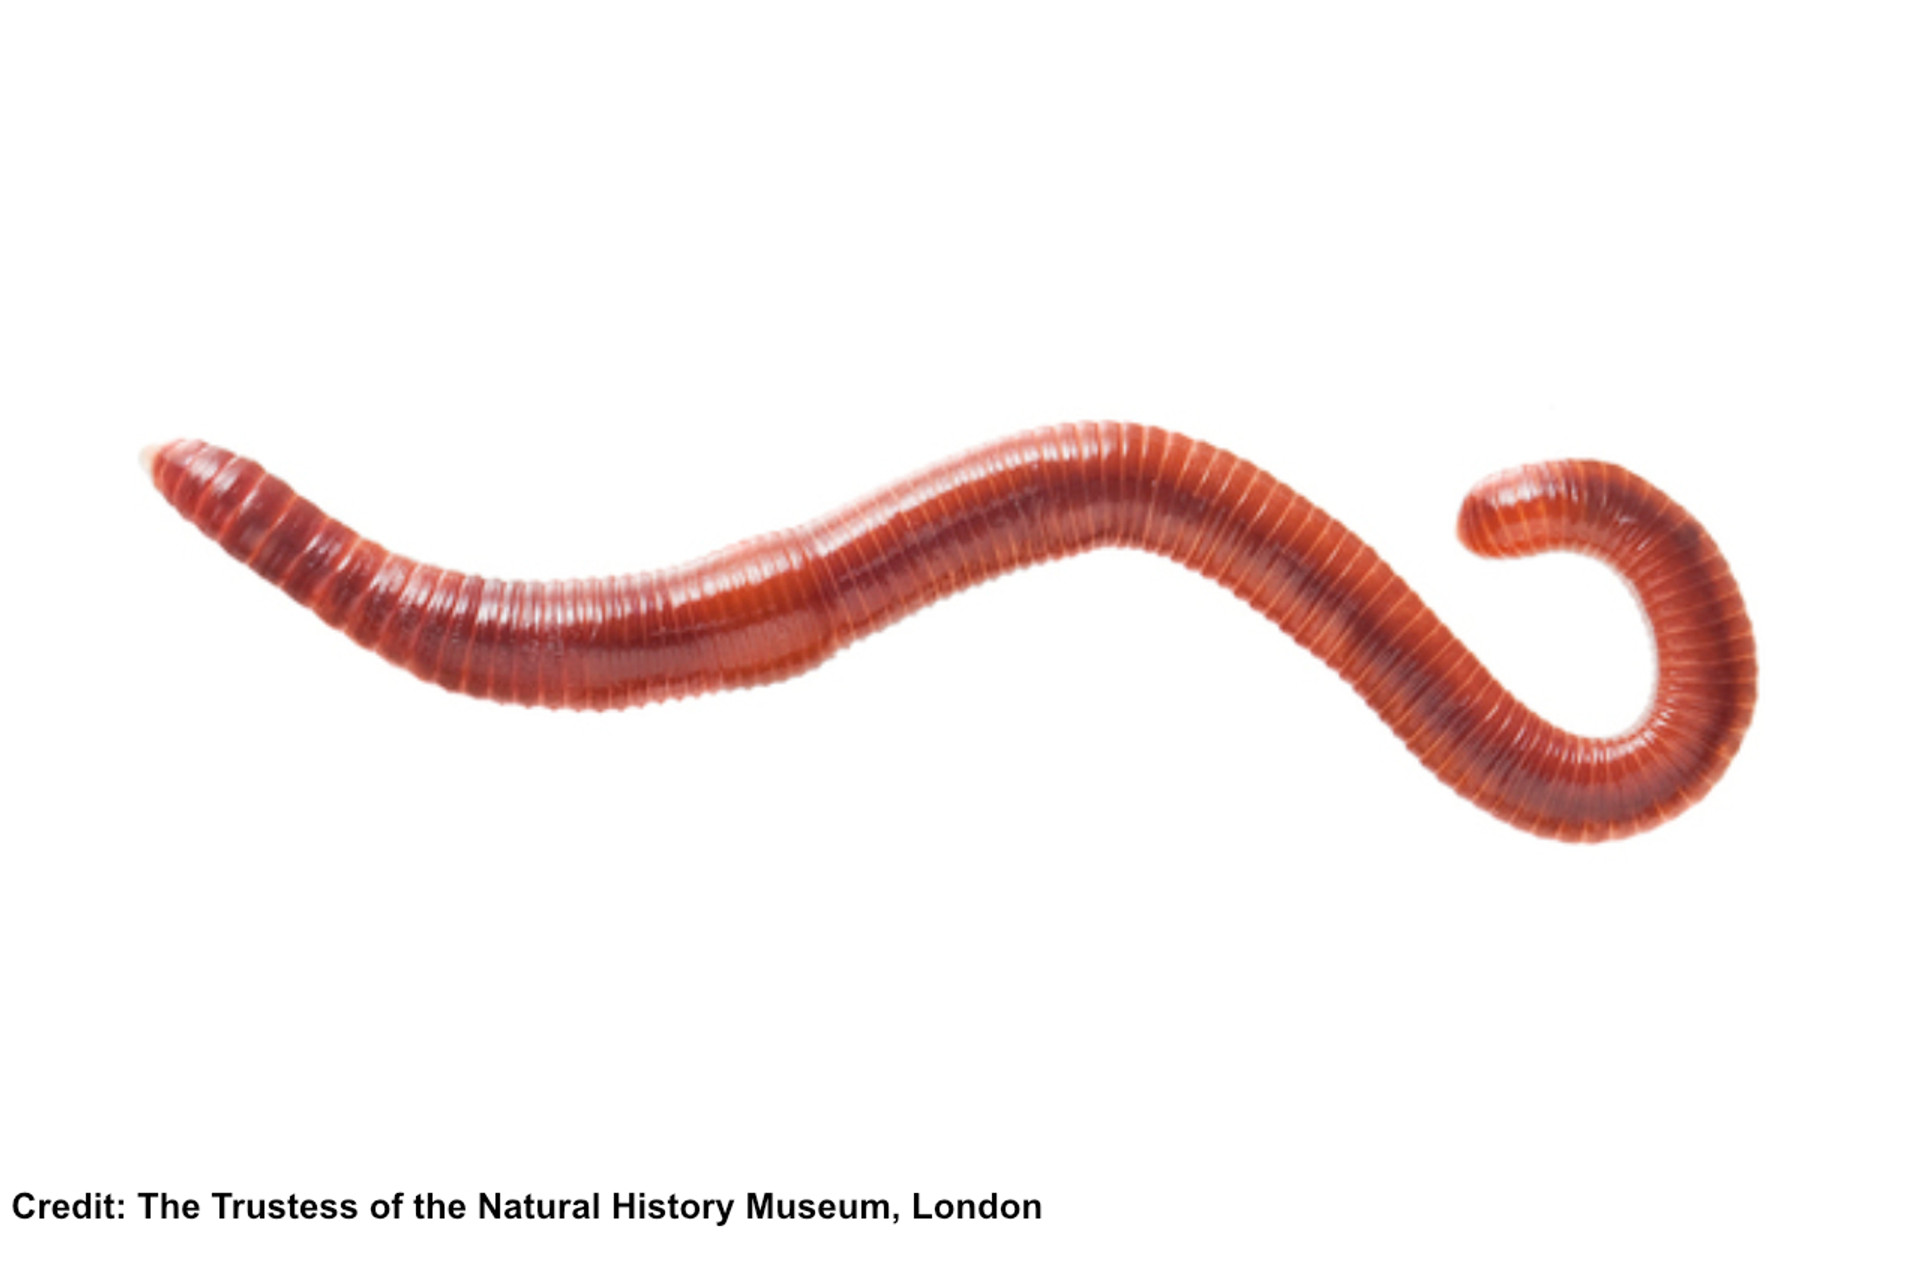
There are very few fish that will turn down a Red Wiggler. Red Wigglers (Eisenia fetida) are an “earthworm” that feed on decaying organics like food scraps and manure, and leaf litter and other dead stuff. Interestingly, even though they are often called earthworms, they are rarely found very deep, preferring to stay in the top two or three inches of soil. Over the years, they have gone by a few different names, often called Compost or Composting Worms, Red Worms, and Manure Worms, they got the names Red Wiggler and Panfish or Trout Worm because they are easy to culture, and irresistible to fish, and so they have long been popular as bait for fishermen (Red Wiggler probably sold better than Manure Worm.)
Red Wigglers make great food, their diet is very diverse, and as such they offer a broad spectrum of nutrients and a very high protein level for fish. Their digestive process produces castings that have a light fungicidal effect and as most of these worms is intestine, some of this is available via the worm as well. They can be a regular food item for any fish that is big enough and is primarily a carnivore. They can be fed sporadically to fish that are more vegetarian in nature, and this can be helpful for bringing these fish into spawning condition and helping them recover from it.
Culturing worms is really straightforward, and really is more an exercise in keeping it from going wrong than anything else. Given an appropriate environment, the worms will do their thing. What is their thing? Well, Red Wigglers reproduce in an interesting way. Every worm has both male and female parts. Two worms will intertwine each other and will share sperm with each other through their skin! This union produces a tiny yellow cocoon, which will hatch 21 days later and result in up to three baby worms. These baby worms will reach sexual maturity (be able to reproduce) in around five weeks. Each pair of worms can make three of these cocoons a week, and the resulting worm can live for up to three years! A more average life span is six months to a year as you will use them before this point. You can see that you will quickly have many more worms than you need for feeding even the hungriest display.
First things first, you are going to need a bin, something to put worms in. It doesn't need to be very deep, and most people will just use a rubbermaid bin or something similar. You can get worm bins (or worm bags), sometimes called vermicomposting containers from garden supply stores if you want so to purchase something purpose made. They should be about two feet long, a foot and a half wide and maybe a foot deep, and there is leeway here, if you use a smaller or larger bin, you'll just need to make adjustments. It should be dark. Make sure your container has drainage and air holes. Your little wormy buddies need oxygen, and they can't deal with too much moisture. This bin needs to live somewhere that the temperature stays over 50 degrees Fahrenheit and doesn't get more than 80ish. The worms can live warmer than that, and can stay in kind of a suspended animation colder than that, but they won't reproduce in either state, and if you get much over 90 for any period of time, they'll start to die off.
What to put in the new bin? Well, you can buy worm bedding, but most worm raisers use shredded newspaper (no color print). This can be torn by hand, but if you have access to a shredder, it makes life a lot easier. Shred as much at a time as you can, so you have a bag full of newspaper to add to the bin when you need it. The worms will also need some dirt, as they don't really have any way to physically break down food, and so they utilize the grit in soil which rests in their gizzard and pulverizes food before it gets chemically digested. A couple cups of dirt is all that is needed for two pounds of worms. This mix of shredded paper and dirt will need to be watered gently. Use dechlorinated water. You'll want this mix to feel moist, but not be able to squeeze more than a drop water out of a handful of it. Keep in mind that when you start feeding the worms, this food will bring some moisture as well.
So, now that we're on the topic of food, what should you be feeding these little Wigglers? You can buy worm food, and you can feed them a variety of different paste foods like cooked oatmeal or grits. The vast majority of people who raise wigglers raise them for two reasons, and neither is fish food (we're a distant fourth). These reasons are composting food waste and making this compost for their gardens. This means they feed their worms mostly food. You can feed them pretty much any green waste like vegetable trim, and lettuce that's on its way out. Eggshells and coffee grounds are great foods. Banana peels are common and useful. Avoid feeding them too much citrus, too much salt and any meat or dairy which tend to go rancid before the worms can deal with it.
How you feed is also super easy. Spread whatever you are feeding over half the bin and then cover that with more newspaper (or bedding of your choice). Water it gently and walk away. Next week, do the same thing but feed on the other half of the bin. If there is a lot of uneaten food in the first half when you go to feed the second half, reduce the amount of food per feeding. Conversely, if it is all gone, you can add a little more food. Covering and watering is important because it prevents you from starting a fruit fly culture (which is a pain in the backside when not done intentionally). After a couple months, there should be an inch or three of worm castings in the bottom of the bin and at this point, you'll probably want to start a new bin and let the worms finish off all the uneaten food in this one.
So, you're going to need worms to start this process obviously, and if you know someone who is about to start a new bin, they'll have plenty extra to start you off. If not, these are available from a wide variety of online sources and local garden stores. You don't need a ton of them, and how many you need is related to how big your container is, and if you're using them to get rid of food waste, how much food you want to give them. For the container we listed, you could start with about 2 lbs of worms. This will supply you with an incredible plethora of worms for food, enough to feed all your fish and more. After about a month, you're going to start seeing new worms, and at this point it is time to start harvesting for aquarium feeding, just grab a few worms out, give them a rinse, and feed them to your fishy friends!
The castings that the worms make is some of the best fertilizer and compost on the planet. Add it to your potted plants, to your garden beds, whatever you want. It is nearly odorless and offers an excellent balance of nutrients to all your plants. The Wigglers themselves are great for composting and gardens, so if you ever decide that you are tired of culturing them, just take them out to the garden, or a friend's garden and let them free. While they are not a native species, they are not considered to be invasive in North America.
Red Wigglers are amazing fish food, and they are also dead useful for getting rid of food waste and making compost for your garden. If you follow these instructions, you'll find this is a very nearly odorless process, that is low maintenance and offers you an endless supply of worms for your fishtank, your garden, heck, even for taking kids fishing!